Creating Imaginary Compositions in Paint.NET
What is Paint.net? An Introduction
“[From Wikipedia - see here] Paint.net (stylized as Paint.NET or paint.net) is a freeware raster graphics editor program for Microsoft Windows, developed on the .NET Framework. Paint.net was originally created by Rick Brewster as a Washington State University student project,[3] and has evolved from a simple replacement for the Microsoft Paint program into an editor with support for layers, blending, transparency, and plugins.”
Paint.NET - building imaginary compositions in Year 5.
The focus for this introduction is:
Can I edit an image by adding another layer?
Can I import a background?
Can I add a layer?
Can I edit the layer to match the background?
Can I use tools such as the 'Eraser' or 'Layer opacity' to make the layers match aesthetically?
Files for this project are here
What your classes are aiming to achieve in approximately six lessons :


By the end of the lesson, you will be at this point.
Adding a background layer
Adding a layer and editing it to match your background
Requires understanding rotating layers.
Paint.Net - Editing, re-sizing and blending layers (Part 3 and 4)
In part 3 of the video tutorials, the focus is:
Import an image to a layer
Re-size, rotate, flip and position an image in a layer
Blend and colour a layer that matches the main colour in the background
In part 4, the focus is:
Use the magic wand to isolate an object to edit.
Use the brush tool to paint and make layers of opacity.
Use the colour picker to choose a prominent hue from the image and apply to other objects to increase realism.
Paint.net - Cropping, selecting and importing objects within layers (part 5 and 6)
In part 5 of the video tutorials, the focus is:
Import an image to a layer?
Re-size, rotate, flip and position an image in a layer?
Select and crop a layer to make it an original size?
Paint.net - Cropping, selecting with Magic Wand and importing objects within layers (part 7 and 8)
Use the magic wand to isolate a colour and remove it from an imported image
Use marquee select tool to move, rotate and, flip if necessary to suit your composition?
Use the colour picker to choose a prominent hue from the image and apply to other objects to increase realism
Adding Text to a new layer is the final application.
Paint.NET - Grading Your First Composition
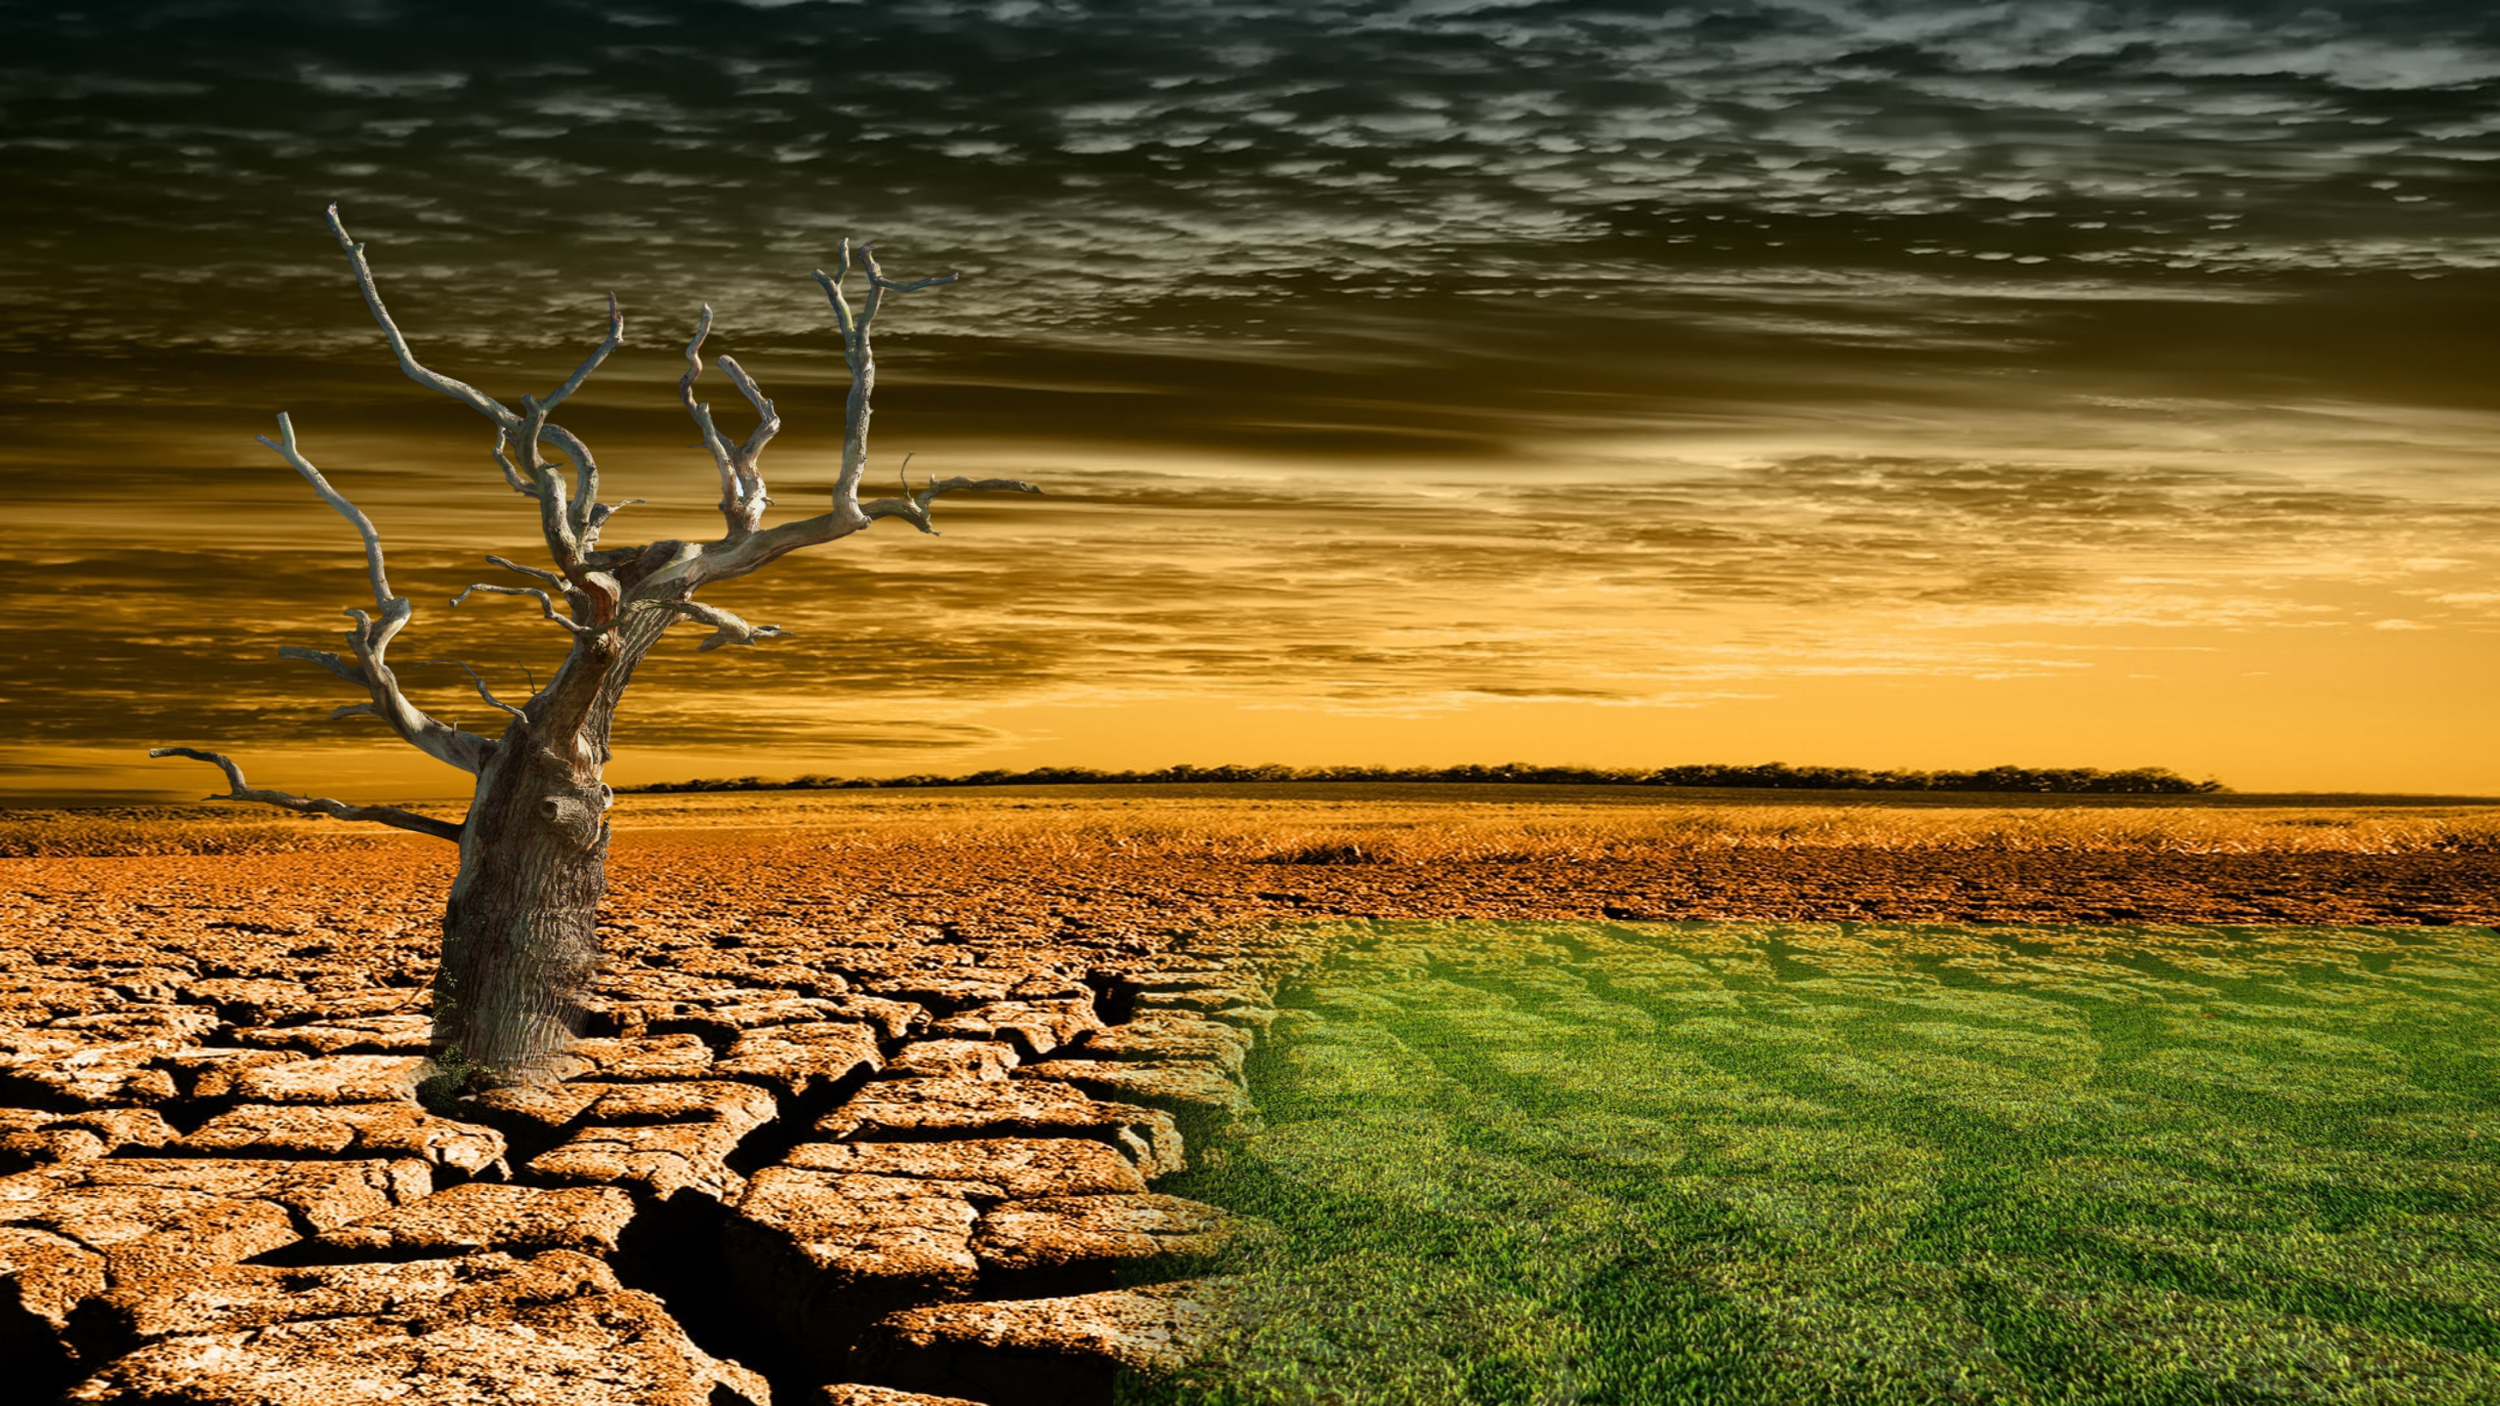
For students to create their own imaginary landscape with a mobile water filtration or desalination plant as part of the ‘Water Crisis’ theme. Click here to see the text and layout.

Files for this independent composition are here.

Two further tools needed are below.
How to make Julian Opie Style Portraits in Paint.net
Context:

In Year 4 the children are expected to undertake a repeating Patterns topic in ICT. This is an old topic that I usually keep for Year 3 and transferable skills; copy, paste, managing multiple programs etc.
But it needed a revamp long ago. So I tried to do this when I saw a blog post about 4 years ago in MSPaint. The blog demoed it in Illustrator and most students don't understand Illustrator nevermind own it! MSPaint was a disaster regardless which year group tried it because of the lack of layers.
We turned to Paint.net and Dazzle. I'm not a fan of Dazzle as the way that layers are managed I feel is not as smooth as they are in Paint.Net. And, it's not Open Source - the number one priority.Opie Portrait complete
The series of videos is also used for lessons so there are a few references to the children that might not apply to other people watching.
There are a few extensions at the end that I like to give the more able children who are natural explorers of software - a kind of "How can you make this?" "Can we use this in another program?"
What you need:
1. Download and install Pain.net from here: www.GetPaint.Net
This is for windows only sorry to those Mac Users but I am hoping to make the instructions for Splashup so that you don't need to install anything and it's OS independent.
2. take a photo of yourself or friend without smiling and showing teeth. An open mouth does not work so well.
3. Open the photo inside Paint.net.
4. Follow these tutorials.

Julian Opie Style Portraits using Paint.Net

Julian Opie Style Portraits using Paint.Net


Julian Opie Style Portraits using Paint.Net

Julian Opie Style Portraits using Paint.Net

Uploaded by Glenn Malcolm on 2011-01-27.
Presenting With Scratch
Welcome to presenting with Scratch. Here you will learn how to make a simple presentation with Scratch rather than PowerPoint!
You can see the rest of the videos by clicking here.